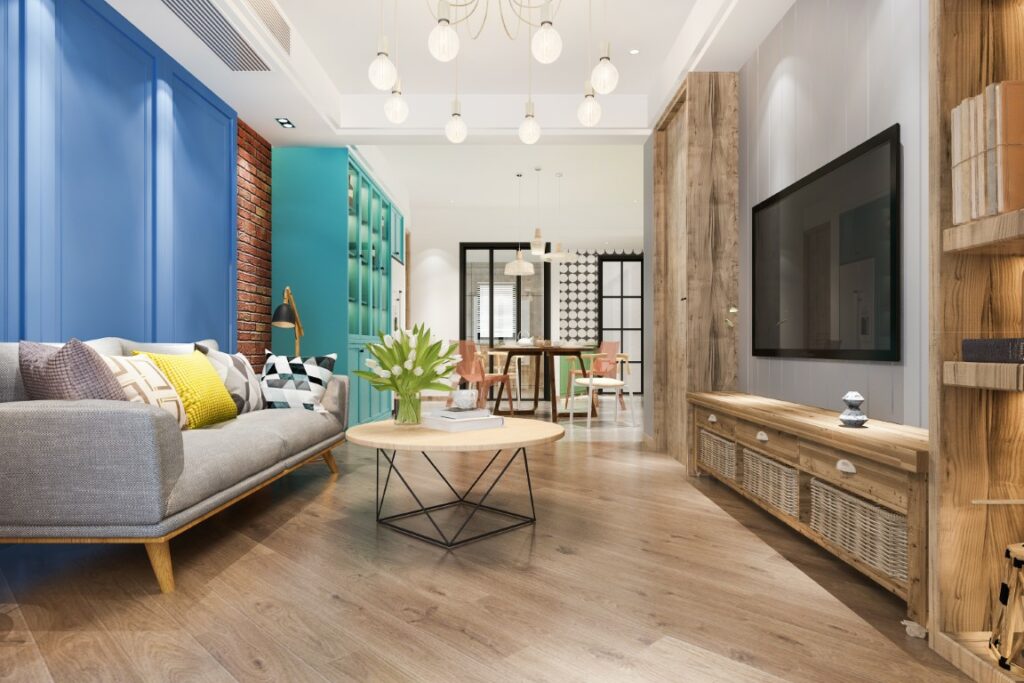
The problem of insufficient natural light, especially for homes along blocked passages between neighboring buildings and facing very narrow courtyards, is common for most urban housing. A good apartment lighting solution addresses this issue not by indiscriminately plopping down lamps all over the room, but by taking an intentional layered approach. This guide describes the principles professional designers use to convert gloomy low-daylight interiors into bright even comfortable environments.
Why Lighting Quality Matters
Since poor illumination can imperceptibly impact how people feel each day, it is clear that lighting has an impact on visual comfort, productivity and circadian regulation. According to a research study conducted by the Lighting Research Center at Rensselaer Polytechnic Institute, well-designed lighting have proven to increase alertness as well as more healthy sleep. In places where daylight is limited, artificial sources must do much of the heavy lifting to keep rooms useful and welcoming.
The condensed version: mix ambient, task and accent sources; choose bulbs from 2700K–3500K; and bounce light off reflective surfaces to brighten every dark room.
Step 1: Establish Three Layers of Light
Single-ceiling fixture lighting tends to render flat, uneven lighting while a layered approach is more balanced, versatile and allows for the comfort of permanence.

Ambient Lighting
- Ambient light is the basic layer of general illumination and in low-daylight rooms this should be generous, even and even bright.
- Flush or semi-flush ceiling fixtures
- Wall sconces directing light upward
- Floor lamps with translucent shades
Task Lighting
- Task lighting can sustain activities like reading, cooking and working as it also helps to ease ocular discomfort during long evening sessions.
- Under-cabinet LED strips for kitchens
- Adjustable desk lamps
- Swing-arm lamps flanking chairs and bed
Accent Lighting
By showcasing artwork, shelving, or textured surfaces with accent lighting it gives visual depth and prevents a dim room from appearing flat.
Step 2: Plan Down Lights Interior Layouts Carefully
The recessed fixtures work nicely in small spaces because they are flush against the ceiling, have no distracting shapes and distribute light more evenly. These tips will guide you when shaping down lights interior layouts with an even coverage, no extreme glare or dark spots.
- Spacing: A rule of thumb is to space fixtures about four to six feet apart, but adjust depending on ceiling height and the size of the room.
- Dimming: Dimmer circuits, in particular, enable smooth transitions from bright task-based levels to softer ambient settings throughout the day.
- Beam angle: If you want general coverage, go for a wider beam in the range of around 80° and 100°, if you want to highlight something like artwork on your wall or architectural sides then go with a narrow beam.
- Efficiency: According to the U.S. Department of Energy, LEDs use at least 75 percent less energy and last longer than incandescent bulbs.
- Where leases have a no-ceiling-change policy, plug-in track systems or retro-fit LED panels provide a similar Look without the permanent changes.
Step 3: Specify the Correct Bulbs
Light output and color temperature drive space perception, which is why you should specify these before bulb selection.
Brightness: Set, say, 10–20 lumens for livable areas and consider higher in kitchens or workspaces where pinpointing is important.

Color temperature: 2700K creates a warmer atmosphere, but in the long run a neutral white of 3000K to 3500K provides unambiguous crispness with great sense of comfort.
Color rendering: A CRI of at least 90 helps wall colors, fabrics, and furnishings accurately look like they do in a natural light.
Ensure that within a single room, you have the same color temperatures in order to avoid an eyesore and patchiness among all surfaces.
Step 4: Maximize Existing Light
Light in a photograph is best when it is reflected and unfettered, so minor adjustments combined can quickly produce significant visual changes.
- However, with your opposition windows or near lamps for getting reflected light avoiding the dark plus far place instead of corner.
- Use light, warm-neutral paint in satin or eggshell sheen to reflect greater amounts of light back toward the primary seating area.
- Hang sheer curtains from rods that extend beyond the window frame, so glass is entirely free and you get full daylight.
- Integrate glossy or metallic surfaces like glass tabletops and brass trays to softly reflect light throughout the space surrounding it.
- Keep window sills devoid of ferns, books and ornamental items; block no daylight from permeating bathing the room.
Step 5: Integrate Smart Controls
Smart bulbs and plugs allow for scheduling, dimming, and color-temperature adjustment taking these changes to every lighting scene with specific control without needing to rewire. Setting a brighter start during the mornings helps counteract a dim morning gloom, making getting up from slumber much easier.
Common Errors to Avoid
- Depending on one overhead fixture
- Choosing bulbs based on wattage, not lumens
- Lamps are only placed at the perimeters of rooms
Conclusion
Limited daylight need not compromise comfort or function, provided that lighting is planned thoughtfully and applied in carefully considered layers. Through layered design, down lights interior placement, bulb specification, and reflective surfaces, even challenging spaces can achieve balance and warmth. Begin with a single room, apply these principles, and refine your apartment lighting gradually until every corner feels bright and comfortable.